DIY Dog Collar: Transform a Leather Belt into a Stylish Pet Accessory
Have you ever wanted to create a unique, personalized collar for your furry friend? We’ve got just the DIY project for you! Making a dog collar from leather belt is not only a fun and…
Have you ever wanted to create a unique, personalized collar for your furry friend? We’ve got just the DIY project for you! Making a dog collar from leather belt is not only a fun and creative activity but also a practical way to upcycle old accessories.
In this guide, we’ll walk you through the simple steps to create a stylish and durable dog collar using a leather belt. You’ll be surprised at how easy it is to transform an ordinary belt into a custom-made collar that’ll have your pup strutting in style. We’ll cover everything from selecting the right materials to adding the finishing touches, ensuring you have all the information you need to create a one-of-a-kind accessory for your canine companion.
Materials and Tools Needed
Leather Belt Selection
Choose a durable leather belt for your dog collar project. We recommend using a kid’s belt or a narrower adult belt, as these are more suitable for most dog sizes. Latigo leather, originally used for horse tack, is an excellent choice due to its durability and resistance to sweat, dirt, and weather. This type of leather not only withstands the test of time but also develops a beautiful patina with use. When selecting your belt, ensure it’s made from high-quality leather to guarantee longevity and comfort for your furry friend.
Essential Tools
To create a dog collar from a leather belt, gather the following tools:
- Ruler
- Strap cutter
- Mallet
- Tack hammer
- Leather scissors
- Small scissors
- Needlenose vise-grip pliers
- Skiver
- X-Acto knife
- Hole punch
- Scratch awl
- Screwdriver
- Rivet setter
- Edge beveler (optional)
Many of these tools may already be in your household toolkit. For specialized leather-working tools, consider purchasing from reputable leather supply stores or online retailers. Remember to prioritize safety when using these tools, as many have sharp edges. Always handle tools appropriately and be mindful of hand placement before starting each step of the project.
Measuring Your Dog’s Neck
Accurate neck measurement forms the foundation of a well-fitting dog collar. We’ll guide you through the process of measuring your dog’s neck to ensure a comfortable and secure fit for your DIY leather belt collar.
Using a Flexible Tape Measure
A flexible tape measure provides the most accurate results for measuring your dog’s neck. Here’s how to use it:
- Wrap the tape measure around your dog’s neck where the collar typically sits
- Ensure the tape is snug but not tight against the skin
- Allow enough room to slip two fingers between the tape and your dog’s neck
- Note the measurement in inches or centimeters

Alternative Measuring Methods
If you don’t have a flexible tape measure, try these alternatives:
- Use a piece of string or ribbon
- Mark where the ends meet
- Measure the marked length with a ruler
Adding Extra Length for Adjustment
To create an adjustable collar, add 2-3 inches to your dog’s neck measurement. This extra length accommodates:
- The buckle mechanism
- Holes for size adjustment
- Comfort and flexibility
Example Calculation
Let’s say your dog’s neck measures 18 inches:
- Neck measurement: 18 inches
- Added length for adjustment: 2-3 inches
- Total length needed: 20-21 inches
Cutting the Leather Belt
Once you have the final measurement:
- Mark the calculated length on your leather belt
- Use a sharp utility knife or leather cutter to make a clean cut
- Ensure the cut end is straight and smooth
By following these steps, we ensure the leather belt is cut to the perfect length for your dog’s new collar.
Preparing the Leather Belt
Preparing the leather belt is a crucial step in creating a custom dog collar. We’ll guide you through cutting the belt to size and smoothing the edges for a professional finish.
Cutting to Size
To cut the leather belt to size for your dog’s collar:
- Measure your dog’s neck using the belt, adding 5-6 inches for comfort and adjustability.
- Mark the desired length on the belt with a pen.
- Use sharp scissors to cut the belt at the marked point.
For accuracy, measure twice before cutting. This ensures the collar fits comfortably and securely around your dog’s neck. Remember, it’s better to cut the belt slightly longer than needed, as you can always trim it further if necessary.
Smoothing Edges
After cutting the leather belt to size, smooth the edges to prevent fraying and enhance comfort:
- Trim the corners of the cut end to create a rounded shape.
- Use a leather edge beveler to remove sharp edges along the cut surface.
- Sand the edges gently with fine-grit sandpaper for a polished finish.
Smoothing the edges not only improves the collar’s appearance but also prevents irritation on your dog’s skin. Take care to maintain an even pressure while sanding to achieve a consistent finish. For added durability, consider applying a thin layer of leather edge sealant to protect the newly smoothed edges from moisture and wear.
Creating the Collar
Punching Holes
Punching holes in the leather belt is crucial for creating an adjustable dog collar. Use a leather punch tool to create evenly spaced holes, starting about 2 inches from the buckle end. Space the holes approximately 1 inch apart, extending to the desired length of the collar. For precision, mark the hole locations with a pen or chalk before punching. Ensure the holes are large enough to accommodate the buckle prong but not so large that they compromise the belt’s integrity. Test the fit on your dog, adjusting the hole placement if necessary for optimal comfort and security.
Attaching Hardware
Attaching hardware transforms the leather belt into a functional dog collar. Start by threading the belt through the buckle, ensuring it’s securely fastened. For added durability, consider riveting the buckle in place. Next, attach a D-ring near the buckle for leash connection. Use a leather punch to create a hole for the D-ring, then secure it with a rivet or Chicago screw. If desired, add decorative hardware like studs or conchos for a personalized touch. Always double-check that all hardware is firmly attached to prevent any safety issues. Finally, trim any excess leather, leaving enough for future adjustments.

Adding Finishing Touches
Personalizing the Collar
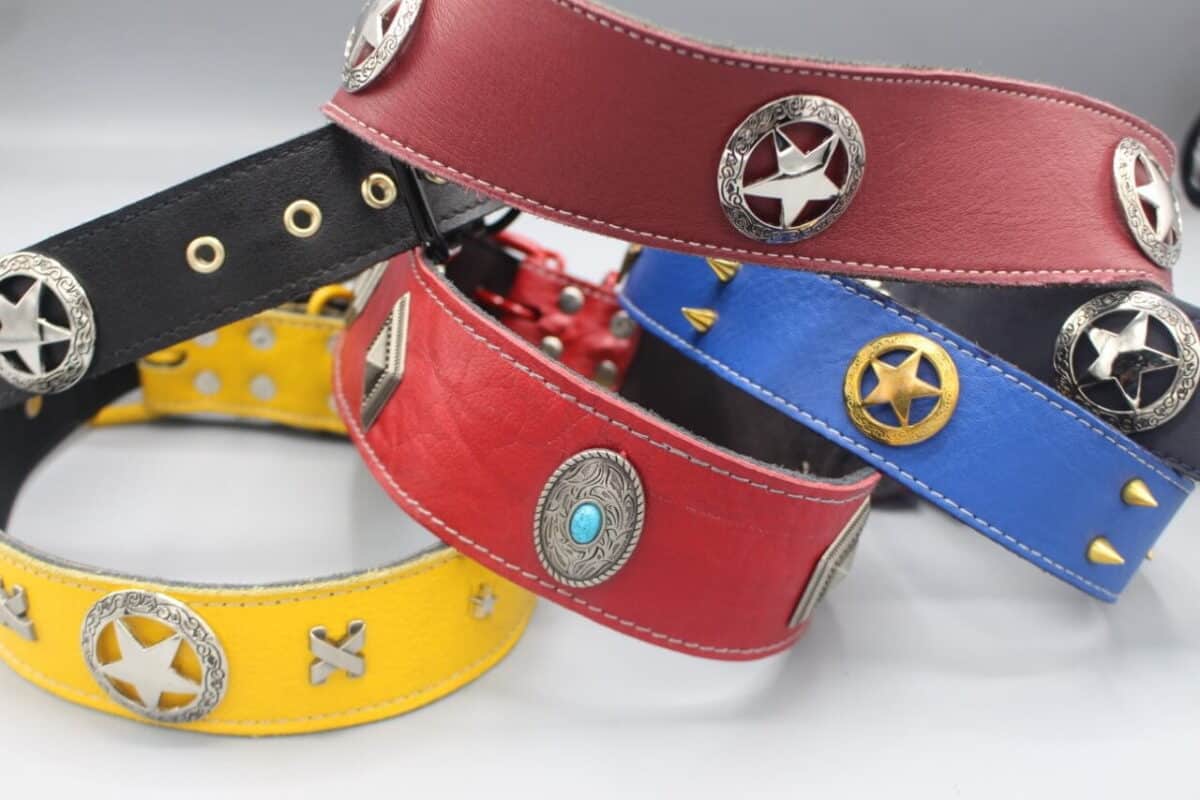
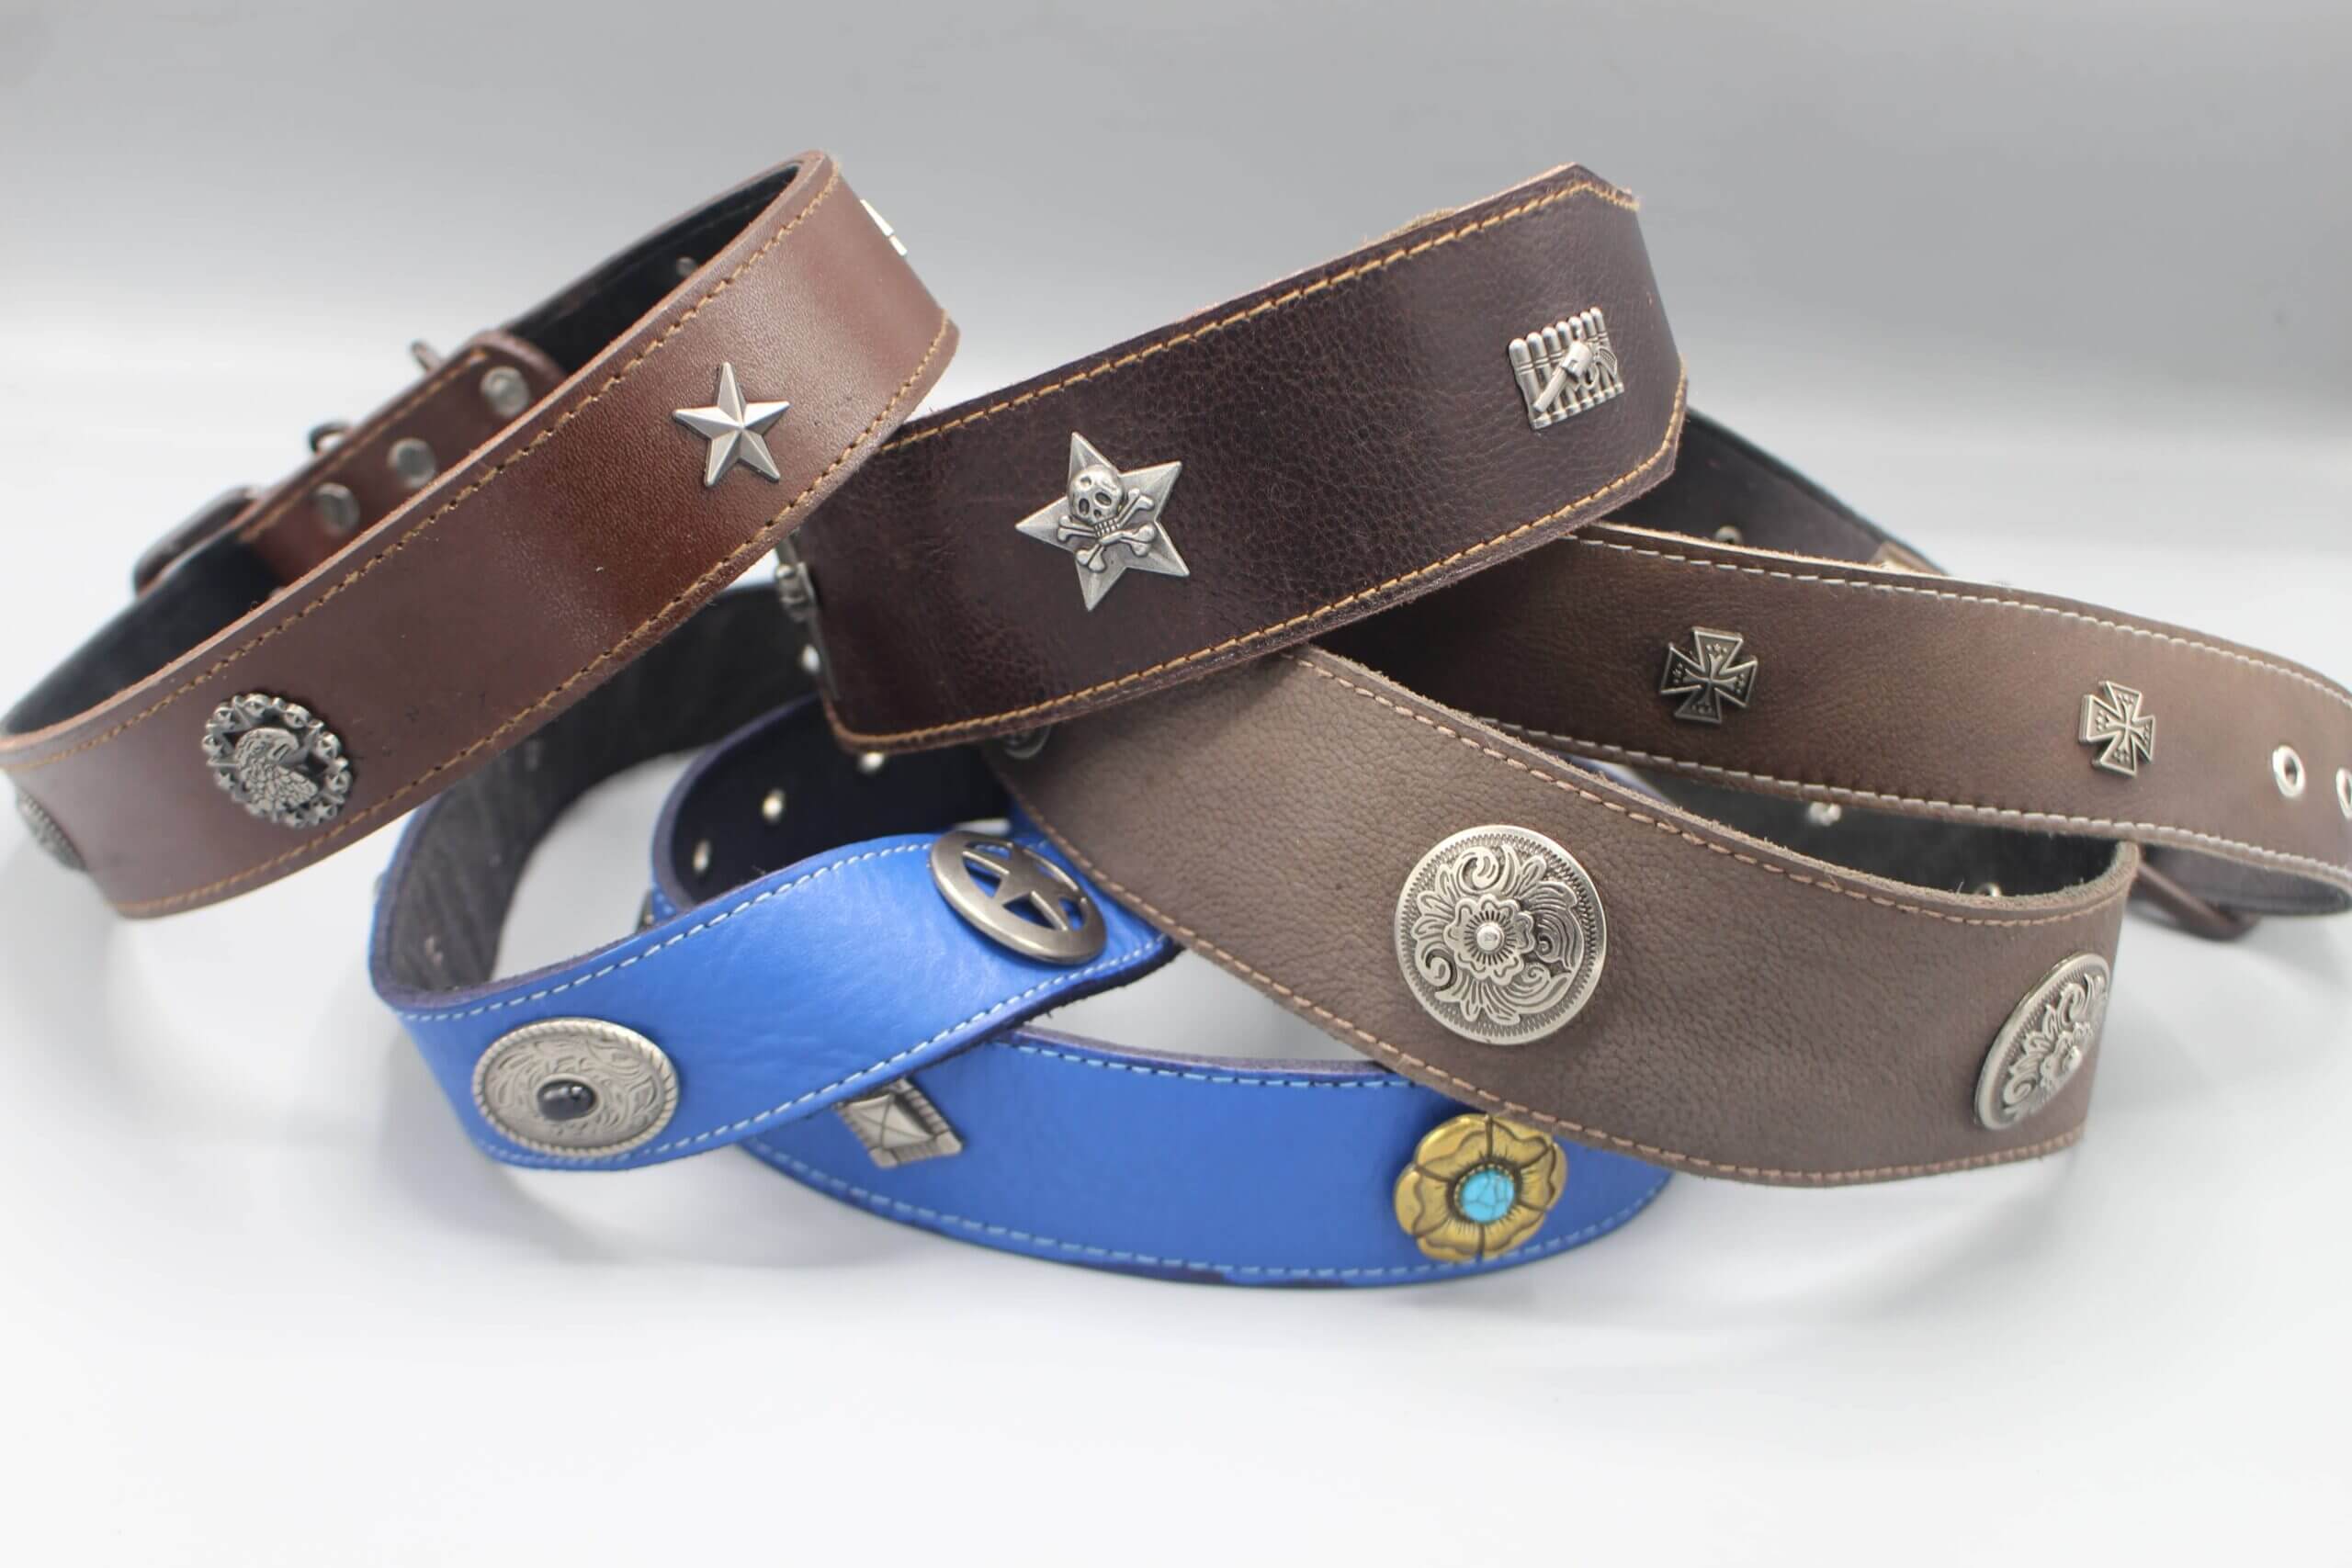
Personalize your dog’s leather belt collar to make it unique and stylish. Add your dog’s name using leather stamps or engraving tools. For a pop of color, use leather paint or dye to create patterns or designs. Attach decorative studs, rhinestones, or conchos for extra flair. Consider using leather scraps to create small flowers or shapes to sew onto the collar. For a rustic look, burn designs into the leather using a wood burning tool. Remember to seal any additions with leather finish to protect them from wear. These personalization options allow you to create a one-of-a-kind collar that reflects your dog’s personality and your creative style.
Safety Considerations
Prioritize safety when creating a leather belt dog collar. Ensure all edges are smooth and rounded to prevent irritation or cuts on your dog’s neck. Check that hardware, such as D-rings and buckles, is securely attached and strong enough to withstand pulling. Avoid using toxic paints, dyes, or adhesives that could harm your dog if ingested. Test the collar’s strength by tugging firmly on it before use.
Regularly inspect the collar for signs of wear, loose stitching, or weakening leather. Adjust the collar’s fit as needed, allowing room for two fingers between the collar and your dog’s neck. Remove the collar during supervised play with other dogs to prevent catching or choking hazards. By following these safety measures, you can create a stylish and secure leather belt collar for your canine companion.
Conclusion
Creating a dog collar from a leather belt is a rewarding DIY project that combines creativity with practicality. We’ve guided you through the process from selecting materials to adding personalized touches. This upcycling venture not only gives new life to an old belt but also results in a unique accessory for your furry friend. Remember to prioritize safety and comfort throughout the crafting process. With your newly acquired skills you can now fashion stylish custom collars that reflect your dog’s personality. So grab that old leather belt and start crafting – your pup’s new favorite accessory awaits!

