No products in the cart.
News
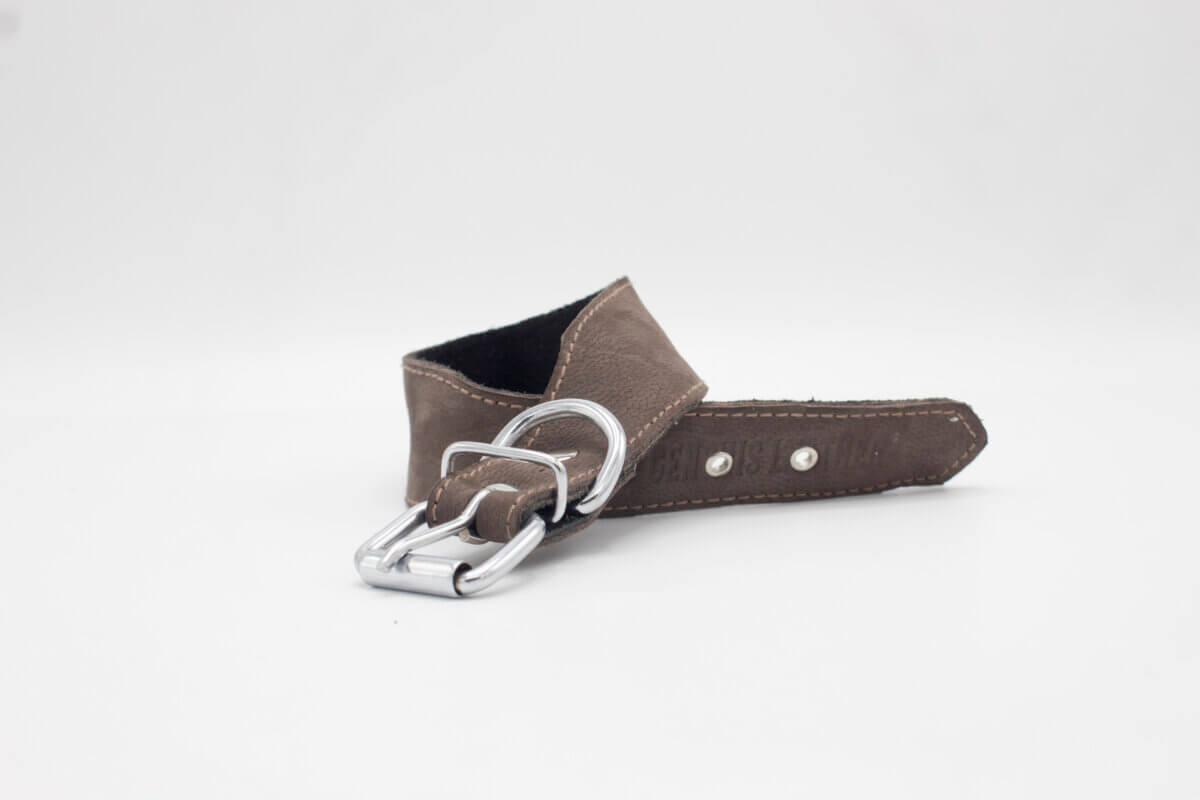
How to Make a Collar For a Dog?
Looking for a fun and easy project to do with your dog? Check out this guide on how to make a collar for a dog! This project is perfect for beginners and can be completed in just a few minutes. You’ll not only have a new collar to show off, but you’ll also have created a special bond between you and your dog.
Purpose of Dog Collar
A dog collar is designed to help keep your pet safe and secured. It can also be used as a training tool. There are many types of dog collars on the market, so it’s important to find one that fits your pup perfectly.
Here are some tips for choosing the perfect collar for your dog:
1-Consider your dog’s size and weight. Different collars fit different dogs.
2-Choose a collar that has a strong clasp. The clasp should be tight enough to keep the collar in place but not too tight that it causes pain or discomfort.
3-Make sure the collar is comfortable for your dog to wear. Some collars have padding or Velcro straps that make them more comfortable for dogs to wear.
Basic steps
Making a collar for your dog is easy and fun. Here are the basic steps:
1. Get the measurements of your dog’s neck. This can be done by measuring around the neck’s circumference with a cloth tape measure or by using an online collar size calculator. Make sure to round up to the nearest inch if needed.
2. Choose a collar style that will fit your dog perfectly. There are many styles and colors of collars available on the market, so it is important to find one that matches your dog’s personality and looks.
3. Sew the collar together using thread and a sewing machine. Be sure to avoid using too much pressure when sewing, as this could cause damage to your dog’s neck tissue.
4. Finally, attach the leash or harness to the collar and enjoy your new custom-made collar!
Materials you will need.
1-1/4 yard of fabric (width will vary depending on the size of the dog’s neck)
2-1/4 inch seam allowance
3-Ruler or measuring tape
4-Sewing supplies: thread, sewing needle, bias tape
5-Iron and ironing board
6-Dog collar pattern (optional)
Instructions:
1. Start by cutting your fabric according to your dog’s neck measurement. Remember to leave a 1/4 inch seam allowance.
2. Next, measure around the circumference of your dog’s neck and mark it with a ruler or measuring tape.
3. Sew the ends of the fabric together, leaving a 1/4 inch seam allowance.
4. Press the seams open and then fold over one side of the bias tape so that it forms a nice edge along one edge of your collar. Pin in place and sew down firmly. Be sure to back stitch at the end for extra security!
5. Turn your collar right side out and press it down flat again.
Tips for Making a Great Dog Collar
When it comes to dog collar style, there is no one correct way to go about it. However, the following simple tips can help create the perfect collar for your pup.
First and foremost, consider what type of collar your dog’s breed traditionally wears. For example, some breeds like Boxers wear a round, metal collar with a strap, while others like Labs prefer a traditional leather or nylon collar with a buckle.
Once you’ve identified your dog’s preferred collar style, select the right size for him or her. Collars should fit snugly but not so tightly that they cause discomfort or restrict movement.
Finally, choose a color and design for your dog’s new collar that will complement his or her personality and style. You can also personalize your pup’s collar with a name tag or other accessories.
How to Make a Dog Collar?
Making a collar for your dog can be both fun and easy. All you need is a few supplies and some time. Here are the steps:
1. Materials: You’ll need some supplies to make your collar, including a piece of fabric, a crochet hook, thread, and a snap.
2. Crochet the Collar: Begin by cropping a long chain to fit around your dog’s neck. Make sure to make the chain as wide as you want the finished collar to be (about 2 inches).
3. Sew the Chain Together: Next, use a stitch marker to mark the beginning of your chain. Use scissors to cut the chain short enough, so it’s just long enough to go around your dog’s neck (about 1 inch). Sew the two ends of the chain together.
4. Make the Snap: Cut a piece of fabric about 1 inch larger than the width of your Crochet Collar and sew it onto one end of the collar. Then, use a snap to fasten it in place.
Now you’re ready to put it on your dog!
Conclusion
If you’re looking to make a collar for your dog, you’ll need a few things before getting started. First, you’ll need some cotton or a synthetic fabric that’s breathable and resistant to staining. Second, you’ll need some thread and an embroidery needle. And last but not least, you’ll need something to attach the collar to your dog’s neck – typically, a harness or buckle collar will do the job. Once you have these items on hand, it’s easy to start making your own collar!


