No products in the cart.
News
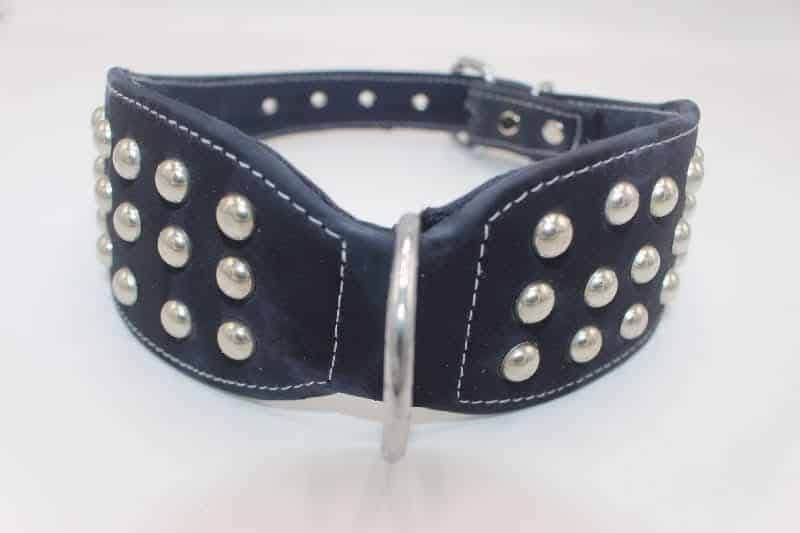
How to Make a Padded Leather Dog Collar?
31
Dec
Dec
Getting your dog a new, stylish, comfortable collar is always great. Not only will it look good, but it can also help keep dogs safe while walking or in the vicinity of other animals. This article will show you how to make a padded leather dog collar using simple and easy steps.
How to make leather collars?
Making a padded leather dog collar is an easy way to add extra comfort and protection to your furry friend. This leather dog collar pattern DIY project requires only a few materials and can be completed in just a few hours.
1. Measure the circumference of your dog’s neck. Use the ruler to mark off 2 inches on each side of the circumference. Cut the leather collar in half along the marked line. Make sure to leave enough slack at either end of the collar to easily put it on and take it off.
2. Mark two more inches from either end of the cut edges, and cut out these pieces. You now have four pieces: two front pieces and two back pieces.
3. Turn one of the front pieces so that it faces the inside of one of the back pieces and pin it in place. Then repeat with the other front piece and back piece. The two front pieces should now look like this:
4. Pin one of the back pieces to cover one of the holes in the padding (if using). Then repeat with the other back piece and padding piece.
What You’ll Need:
1-Leather dog collars (preferably padded leather strip)
2-Ruler or measuring tape
3-Permanent marker. Leather shaver. Weight leather
4-Sewing supplies (thread, needle, buttons) (Own leather dog collar) (Pre cut leather strips)
1. Start by determining the size of your leather collar. Measure around the widest part of your dog’s neck and make a copy of the measurement onto your fabric. Next, cut out the rectangle with your scissors. Make sure you keep the same measurements as you did on the leather collar – otherwise, the fit will be off.
2. Start sewing the two pieces together using a thread at least twice as thick as the actual leather collar material. Make sure to backstitch at several points to ensure durability. Once you have sewn all the edges together, leave an opening so you can turn it inside out later.
3. Mark where you want to sew on the inside of the collar, and then start sewing. Be sure to leave a small hole so that your dog can breathe. Once you have sewn all the ways around, turn the collar inside out and line it up with the opening you left earlier. Sew up the opening, making sure to backstitch at several points again.
4. Now it’s time to add the padding. Cut two pieces of padding about twice the size of your actual collar material – make sure that they are both even in size. Place one piece of padding on top of the other, and then sew them together using a thread at least twice as thick as the actual leather collar material. Backstitch at several points again to ensure durability.
5. Finally, add buttons around each padding edge so that it looks nice and is finished. Your padded leather dog collar is now ready to wear!
Tips for Making a Padded Leather Dog Collar
Making a padded leather dog collar can be a fun project for the dog lover in your life. You will need some basic supplies, and you will also need to follow some easy steps to create a comfortable and stylish collar.
Started by measuring the dog’s neck circumference. You then need to cut a piece of padding about 1 inch larger than the circumference of the dog’s neck. Make sure that the padding is smooth and free from holes or tears.
Once you have the padding, you are ready to start assembling your collar. Start by attaching one end of the strap to one corner of the padding, and then attach the other end of the strap to the opposite corner of the padding. Ensure the straps are tight enough, so there is no slack hanging down the collar.
Now it’s time to make the closure section for your collar. Cut two pieces of leather about 3 inches long, and then Sew them along one edge to form a V-shape. Make sure that you leave a 1-inch opening at one end of each V-shape to fit your dog’s neck through it.
Finally, it’s time to attach your leather closure section to the straps on your collar. Start by threading one end of the strap through the opening at one end of the V-shape, and then pull it tight, so the strap is snug against the leather closure section.
Then, thread the other end of the strap through the opening at the other end of the V-shape, and pull it tight again. Make sure your dog’s neck is securely fastened with the leather closure section, and then enjoy your new padded leather dog collar!
Tips for proper fit
There’s no one-size-fits-all answer to this question, as the size of a padded leather dog collar will vary depending on the weight and size of your dog. However, there are a few tips you can follow to ensure that your collar is a comfortable and snug fit.
First, measure the circumference of your dog’s neck using a piece of string or a measuring tape. Next, compare this measurement to the dimensions specified on the collar’s packaging. If the circumference falls within the range of sizes indicated on the packaging, you can begin fitting the collar. If not, you may need to go up or down one size.
To ensure a proper fit, it’s important to pull the collar tight enough to cover your dog’s neck completely but not so tight that it causes discomfort or irritation. You can also adjust the length of the collar by loosening or tightening its buckle.
Finally, give your dog plenty of time to get used to wearing a new collar—a week is usually sufficient for most dogs.
If you have any questions about the fit of your dog’s new padded leather collar, consult your veterinarian or a qualified pet collar fit specialist.
Conclusion
Making a padded leather dog collar is not as difficult as you think. In this tutorial, we will walk you through making a basic padded leather dog collar using an old pair of jeans and some thick fabric. Following these simple steps, you can create a stylish and durable collar that your dog will love!