No products in the cart.
News
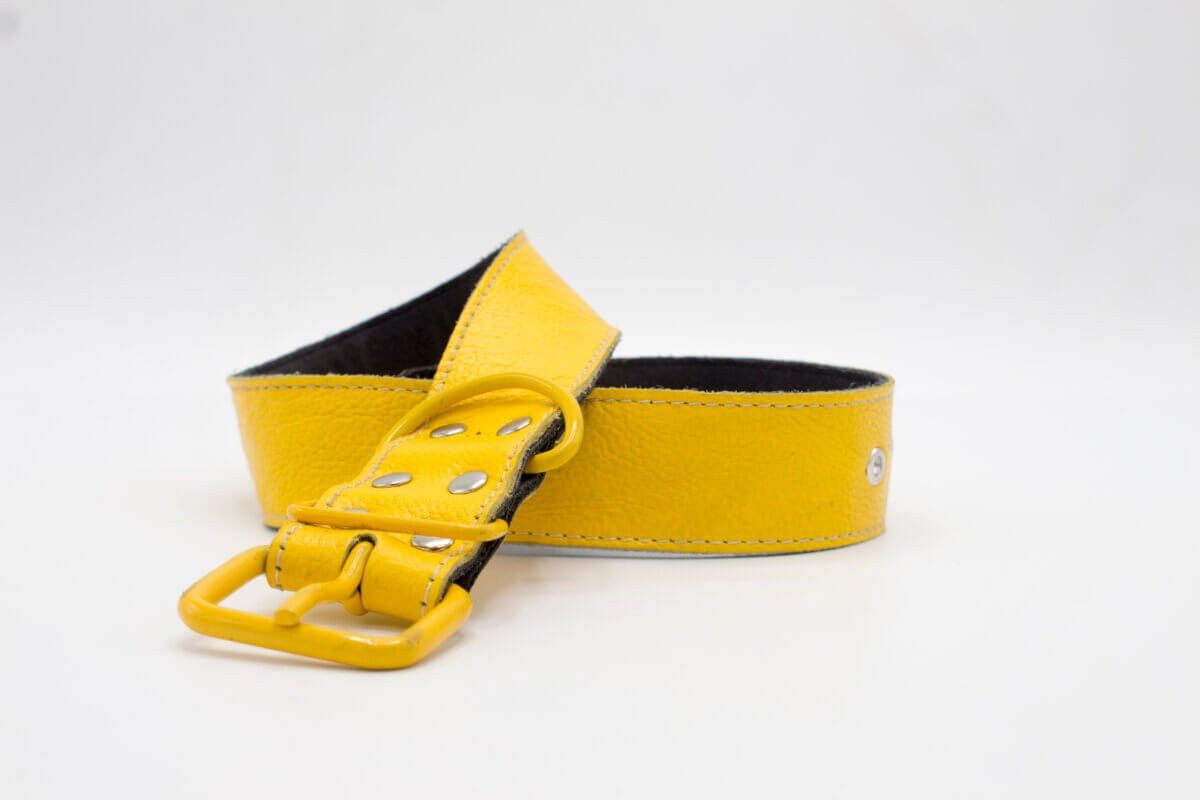
How to Make Tooled Leather Dog Collar?
15
Jul
Jul
If you’re looking for a special gift for your pup this holiday season, consider making him or her a tooled leather dog collar. This type of collar is very popular with pet owners because it’s stylish and functional. In this article, we’ll show you how to make one using either an easy-to-follow tutorial or some basic instructions that you can find online.
What You’ll Need for Tooled Leather Dog Collar?
If you’re looking to make a tooled leather dog collar, you’ll need the following supplies:
1-Leather collar
2-Embroidery thread in black, brown, and light green
3-Embroidery needle
4-Tape measure
5-Ruler or straight edge
6-Paint or fabric marker
7-Hole punch
8-Bright metal snap clip or large safety pin
9-Hot glue gun and glue sticks
How to Make a Tooled Leather Dog Collar
1. Measure your dog’s neck circumference using a ruler or measuring tape. Cut a piece of the leather belt about 1″ wider than the circumference you measured and long enough to fit around the dog’s neck.
Cut two additional pieces of leather belt equal in width to the first two and long enough to overlap them by 2″. Mark the center of each piece of a belt with a pencil.
2. Using a hole saw, cut four small holes evenly spaced along the edge of each piece of belt. Paint or stain the edge of each hole black.
3. To make the collar, wrap one belt around your dog’s neck and tie it behind his/her neck with a simple knot. Make sure the ends of the other belts overlap by at least 2″ so they form a continuous loop around your dog’s neck. Trim any excess leather from around your dog’s neck.
4. Sand the entire collar lightly with 220-grit sandpaper to soften the finish and ensure a smooth fit. Brush off any dust or debris before moving on to step 5.
5. Use a stiff brush to apply a thin coat of water-based sealant to the entire collar. Let the sealant dry for at least 30 minutes.
6. Apply a thin coat of sandpaper to the back of your dog’s neck and gently wipe it off. Allow the sanded finish to dry for at least 30 minutes before wearing the collar.
7. Lint-free cloth can be used to clean the collar after each use.
Tools
To make a tooled leather dog collar, start by cutting out a piece of leather at least 2 inches wide and 3 inches long. You will also need a brass buckle and a pair of pliers. The first step is to create the rivets.
Make a small hole in one end of the leather and place the brass buckle over it. Push down on the buckle until it is tight against the leather, then make a second hole in the opposite end of the leather. Insert a needle through both holes and pull out the thread.
Repeat this step until you have created 8 rivets around the circumference of the buckle.
Next, use the pliers to curl up one edge of the leather around each rivet. Make sure that the curl is big enough to not touch or overlap any of the rivets. Finally, use a hot iron to seal each curl with molten wax.
Method
There are a few different ways to make tooled leather dog collars. The most simple way is to use a leather stamp. You can find stamped leather at most craft stores. To make the stamp, you will need a wooden block, some leather, and an iron.
First, cut out a piece of leather the same size as the Block. Next, heat up the iron and place the leather on top of the wooden Block. Press down firmly with your hand and then pull away from the iron. You will now have a stamped design on your leather collar.
Another way to make a tooled leather dog collar is to use a Dremel tool. You will need a Dremel tool, some leather, and epoxy. First, cut out a piece of leather that is the same size as the Dremel tool. Next, heat up the Dremel tool and place the leather on top of the wooden Block. Press firmly with your hand and then pull away from the Dremel tool. You will now have a stamped design on your leather collar.
The final way to make a tooled leather dog collar is to use a hot knife. You will need a hot knife, some leather, and epoxy. First, cut out a piece of leather the same size as the Hot Knife. Next, heat up the Hot Knife and place the leather on top of the wooden Block.
Press firmly with your hand and then pull away from the Hot Knife. You will now have a stamped design on your leather collar.
Conclusion
To make a tooled leather dog collar, start by cutting a piece of leather about 2½ inches wide and 6 inches long. Make two cuts down the center of the leather, then use a hammer and chisel to create evenly spaced indentations in the leather. Finally, use a needle and thread to stitch each indentation closed.
To make the dog collar, attach the leash to one end of the leather collar and fit it snugly around your dog’s neck. Then attach the other end of the leather collar to the tooled indentations on the other side of the dog’s neck.
Finally, attach a tag to the collar with a piece of string or a key ring.
Tip: To make the collar even more comfortable for your dog, try adding a layer of fleece or padding around the neck.