No products in the cart.
News
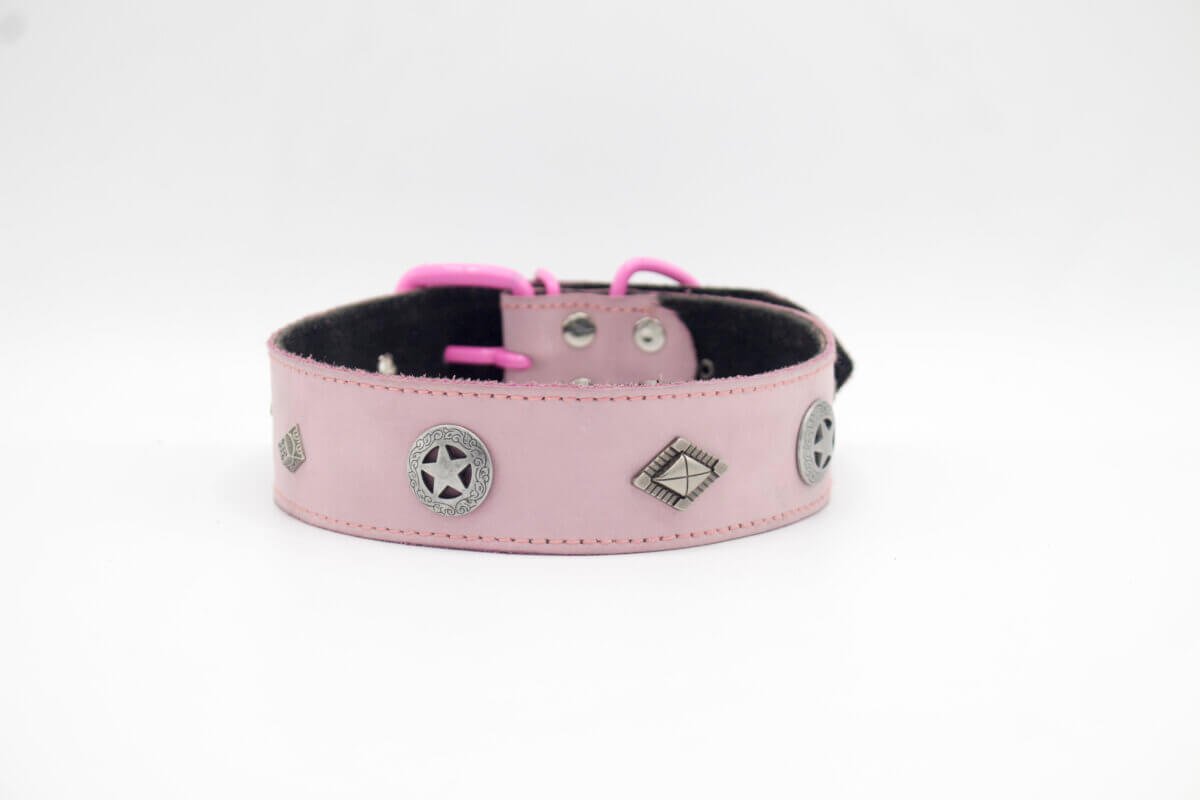
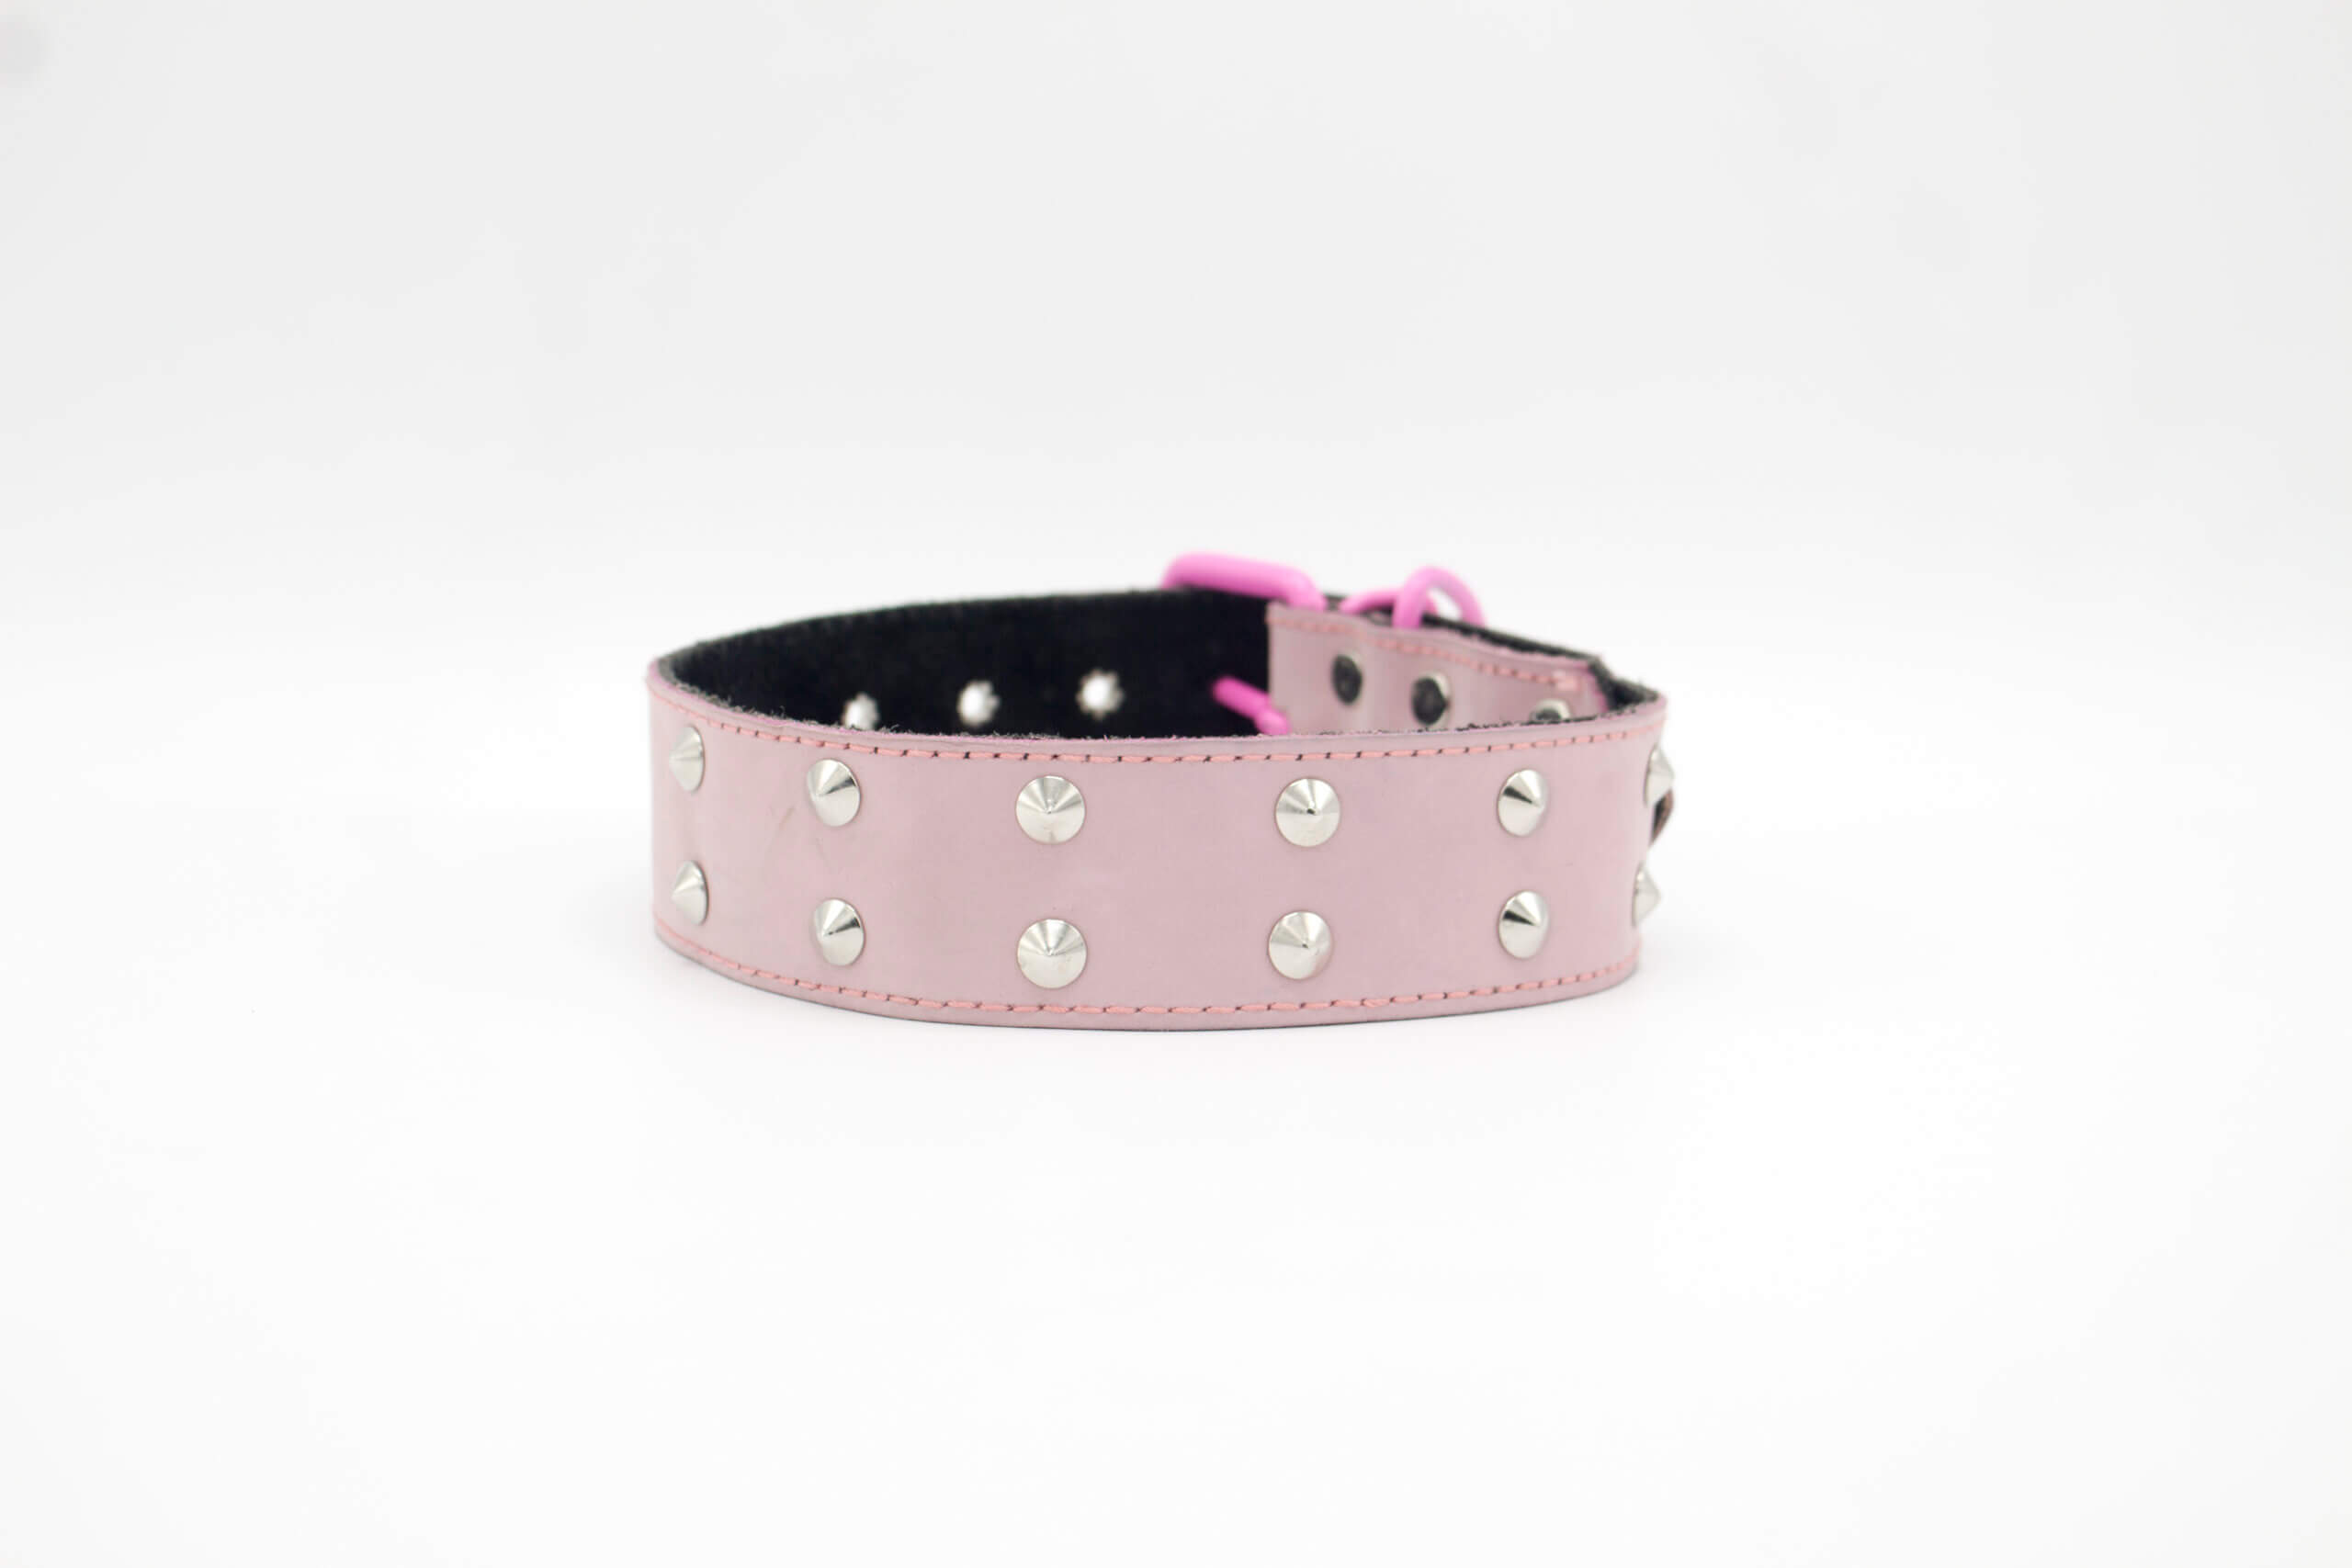
How To Make Your Own Stunning Texas Star Dog Collar
04
Jan
Jan
If you’re looking for a unique, personalized dog collar to show off your Texan pride, you’ll love this tutorial on how to make your own Texas Star Dog Collar!
What You’ll Need
To make your own Texas Star Dog Collar, you’ll need the following supplies:
1-A collar of your dog’s desired size
2-Scissors
3-Thread
4-Patches (optional)
1. Begin by cutting the collar into the desired size. Be sure to leave enough extra material so that you can sew on the patches if desired.
2. Sew the collar together using a close stitch. Try to keep the stitches as close to the edges of the collar as possible to create a more finished look.
3. Now it’s time to add your patches! You can add any designs or images to your collar if you’d like. Just be sure to follow the instructions provided with each patch.
4. Finally, attach your patches if desired, and enjoy your new Texas Star Dog Collar!
Tips & Warnings
When sewing on patches, be sure to use a very strong thread so that the patch will stay in place. Additionally, leave enough space around the edges of the collar so that the stitches don’t show.
How to Make the Texas Star Dog Collar?
The Texas Star Dog Collar is a unique and stylish way to show your support for your favorite athlete or dog! The star-shaped collar is made from nylon webbing and a plastic buckle, so it’s easy to make and can be adjusted to fit any size dog. You can also customize the colors of the collar to match your favorite team or outfit. Instructions are included in the blog post, so don’t hesitate to get started!
Steps to Making a Texas Star Dog Collar
A Texas Star Dog Collar is perfect if you’re looking for a unique and beautiful way to show off your dog’s personality! These collars are composed of nine alternating light and dark blue stars forming a star pattern. You can make your own Texas Star Dog Collar using just a few simple steps. Here’s how:
1. Start by measuring around your dog’s neck with a ruler or measuring tape. Ensure the collar fits snugly but isn’t so tight that it cuts off your dog’s circulation.
2. Cut out the star pattern from a piece of fabric using scissors or an X-Acto knife. Make sure the stars are evenly spaced across the fabric, and the edges are smooth.
3. Sew the stars onto the fabric using a seam allowance of ½ inch (13mm). If you want to add extra protection to your dog’s neck, you can also sew on some extra reinforcement stitching around each star.
4. Once the stars are sewn on, you can finish off the collar by attaching it to your dog’s neck using a safety pin or fasteners. You can also add a nameplate or other decoration if you like.
Your Texas Star Dog Collar is now ready to wear! It’s a unique and beautiful way to show off your dog’s personality, making it a great gift for any dog lover.
Tips for Finishing Your Texas Star Dog Collar
If you want to give your pup a unique collar, why not try making your own Texas Star Dog Collar? This easy DIY project will impress any dog lover in your life! Here are the step-by-step instructions for creating your very own Texas Star Dog Collar:
1. Start by measuring the circumference of your dog’s neck. Use this information to create a pattern using a sewing machine or by using a series of straight stitches. Make sure that the stitches are evenly spaced around the circumference of the neckline.
2. Once the pattern is complete, sew the edges of the fabric together using a seam allowance of ½ inch (12 mm). Leave a hole large enough to fit your dog’s head through.
3. Start attaching the stars by sewing them onto the fabric in a circular pattern. Be sure to leave enough space between each star so they can easily be attached and removed.
4. Finally, trim any excess fabric and close up any seams. Your Texas Star Dog Collar is ready to wear!
Supplies You’ll Need
To make your own stunning Texas Star Dog Collar, you’ll need:
1-A sturdy dog collar (preferably a leather collar)
2-A large star fabric (at least 54 inches wide by 18 inches high)
3-Fabric glue or hem tape
4-Iron and ironing board
5-Pencil and ruler
6-Ruler and sewing machine
7-Thread and needle
8-Sticker tape or fabric glue
9-Brush or paint (optional)
1. Measure the circumference of your dog’s neck with a ruler. This is the widest part of the collar.
2. Cut out a Texas Star fabric template from the larger piece of fabric. Trace around the template onto the smaller piece of fabric, ensuring to cut off the excess fabric on all sides.
3. Remove the template from the smaller piece of fabric.
4. Glue or tape the star fabric to one side of the sturdy dog collar, ensuring that it covers the entire circumference of the collar.
5. Sew around the edges of the star, using a thread and needle as needed.
6. Turn the collar right side out and enjoy your stunning Texas
How to Make the Collar?
A Texas Star Dog Collar is a must-have for any dog lover. It’s simple to make and can be customized to fit your pup’s exact size. With just a few supplies, you can create a personalized collar that will make your dog look its best. This collar is perfect for any dress-up occasion or just for everyday wear. Here are the instructions on how to make your own Texas Star Dog Collar:
1. Start by cutting a piece of fabric that measures the circumference of your dog’s neck plus 2 inches. Make sure to cut the fabric, so there are no folds or wrinkles.
2. Next, take the fabric and fold it in half so that the raw edge of the fabric is facing outwards. Pin the folded fabric along one long edge and sew along the pinned edge using a straight stitch or zigzag stitch. Make sure to backstitch at the end of the seam to ensure a secure finish.
3. Now, flip the collar over so that the sewn edge is facing outwards, and use a piece of ribbon or lace to tie a knot in the middle of the folded fabric. Make sure that you tie the knot so that it is close to but not touching the sewn edge.
4. Once you’ve tied the knot, flip the collar back over so that the sewn edge is facing outwards and apply a coat of spray adhesive to the back of the ribbon or lace. Stick the ribbon or lace onto the seam and press it firmly.
5. Next, take the collar off your dog and wait for the adhesive to dry before attaching it to your pup’s neck. If you would like to make a coordinating leash, you can find instructions on how to do that here.
Tips for Making a Texas Star Dog Collar
When it comes to making a Texas Star Dog Collar, there are a few essential steps that you need to take into account. First and foremost, you’ll need to choose the right material. If your collar is made from fabric, leather, or even a sturdy rubber band, choose something durable that won’t wear down easily. Additionally, ensure that the star pattern is evenly spaced across the surface of the collar. Finally, measure your dog carefully before beginning to craft its Texas Star Dog Collar. Once all of these tips have been followed, your dog will look stylish and fierce simultaneously!
Conclusion
If you’re looking for a unique and stylish dog collar, look no further than our tutorial on how to make your own Texas star dog collar. With just a few simple supplies, you can create a piece of canine couture that will turn heads everywhere you go. Be sure to check out the finished product in the photos below, and let us know if you have any questions or problems following along — we would love to help!