No products in the cart.
News
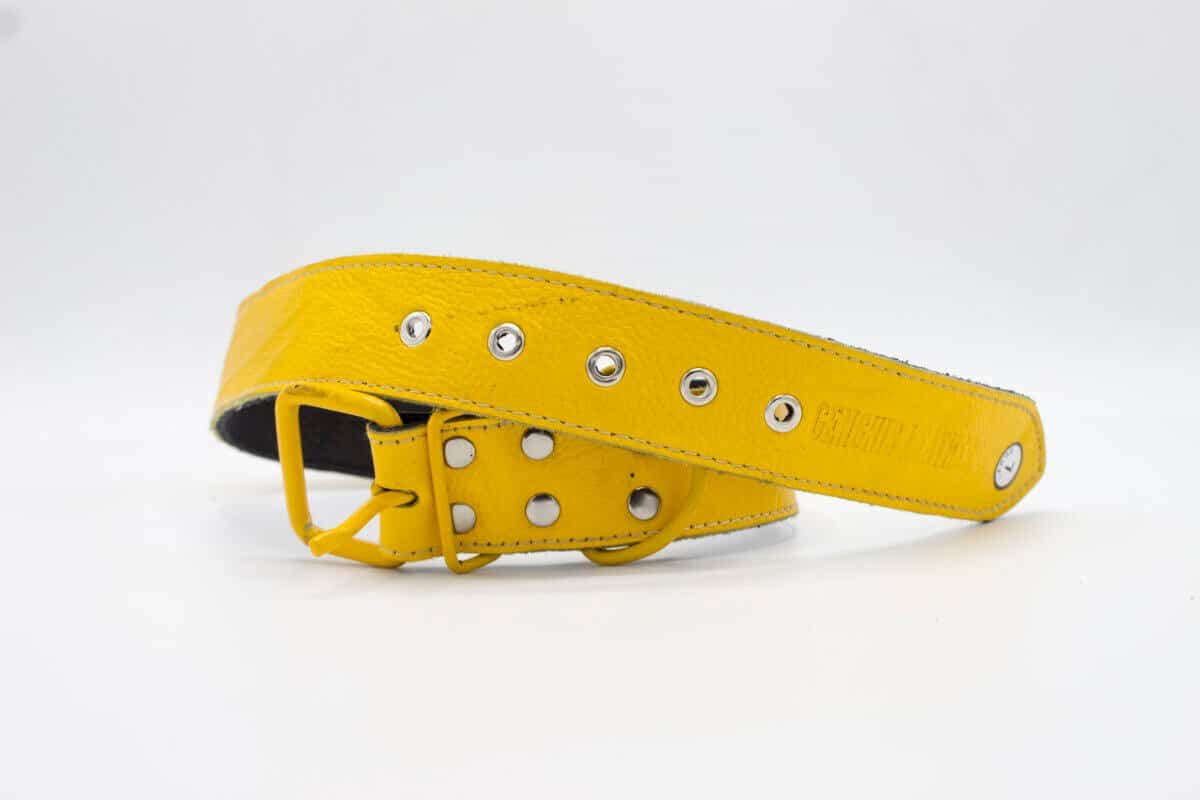
How To Make a Leather Dog Collar?
24
Jan
Jan
Are you looking for a way to show your furry friend how much you love them? If so, then you’ll want to look into making them a leather dog collar! Here are some simple tips on how to make one yourself.
Materials you’ll need
1-Leather collar
2-Ruler or any other straight edge
3-Hot glue gun and glue sticks
4-Nail file or a sharp object to smooth the leather
5-Dish soap or laundry detergent
6-Steel wool or a brush
When making a leather dog collar, you’ll need: a leather collar, ruler, or another straight edge, a hot glue gun and glue sticks, a nail file or sharp object to smooth the leather, dish soap, or laundry detergent steel wool or brush.
How to make a simple leather dog collar?
There are many ways to make a basic leather dog collar. Here is one way that uses a bias tape strap.
Start by measuring your dog’s neck circumference. Cut a piece of leather that is equal in width to your dog’s neck measurement and at least 2″ longer than the neck’s circumference. Then, mark the ends of the leather with a pencil, so you know where to cut it. Make sure that the sides of the leather are even – if one side is wider, you can fix this before you start gluing on the pieces.
Next, use hot glue to attach one end of the leather strip to one end of the ruler. Be sure that it is lined up perfectly so that when you clip the excess off later, it will be easy. Repeat this step with the other end of the leather strip, attaching it to the other end of the ruler.
Now, take your steel wool or brush and start rubbing it over the entire surface of the leather strip. This will help to smooth out any bumps or irregularities in the leather. Once it’s all been rubbed down, hot glue one of the sides of the collar piece to one end of the leather strip. Make sure you line up the marks on the leather strip so that they are exactly in the center of where you’re going to be gluing it. Then, hot glue the other side of the collar piece to the other end of the leather strip.
Once both sides have been glued on, clip off any excess material around both leather pieces. You now have a perfect, symmetrical dog collar!
How to make a decorative leather dog collar?
Making a decorative leather dog collar is an easy and fun project that your pet will love. You can choose to make a simple or complex collar, depending on your preferences. Here are the steps to making a decorative leather dog collar:
1. Choose the type of leather you would like to use for your collar. Leather is a natural material and will vary in color and texture, so be sure to select the right type for your project.
2. Cut the desired size of the collar from the leather. Be sure to allow extra room for adjustment, as collars can be made in various sizes.
3. If you want to add extra detail to your collar, start by cutting out some circles or shapes from the leather with a sharp knife. You can also stitch these shapes onto the collar using embroidery thread or leather needle and thread.
4. Now it’s time to decorate your collar! You can choose to use hardware such as D-rings, buckles, or rivets to add style and functionality to your collar, or you can choose more decorative materials such as beads, charms, or clasps.
5. To finish off your decorative leather dog collar, you must apply a protective coating to the surface. This can be done with a clear sealant or a leather conditioner. Allow the sealant or conditioner to dry completely before wearing your collar.
Your dog will love wearing a beautiful and custom-made decorative leather dog collar, and you will be proud to show off your pet’s unique style!
How to put a leather dog collar on your dog?
Leather dog collars are a popular accessory for dogs, but they can be difficult to put on. This guide will show you how to put a leather dog collar on your dog in just a few simple steps.
1. Start by ensuring your dog is restrained by holding onto their leash and putting the other end around their neck. Make sure the collar is tight so that it won’t slip off.
2. Next, take the collar in both hands and drape it over the dog’s back. Make sure the buckle is facing outwards so you can easily fasten it when you’re finished.
3. Pull the leash tight and ensure the buckle is secure. Your dog should now be wearing a new leather dog collar!
Tips for caring for your new leather dog collar
If you’re new to leather dog collars or just looking for tips on taking care of them, read on! Here are a few things to keep in mind:
1-Use a quality leather conditioner:
When your collar starts to wear and tear, give it a good conditioning treatment with a quality leather cleaner and conditioner. This will help keep the collar looking nice and new for longer.
2-Avoid harsh chemicals:
Some people use harsh chemicals to clean their collars, which can damage the finish. Instead, use a gentle leather cleaner specifically designed for this type of material.
3-Avoid water and sun:
While it’s important to clean your collar regularly, avoid getting it wet or exposing it to direct sunlight. These elements can damage the collar’s finish over time.
4-Store your collar properly:
When not in use, make sure your collar is stored in a cool, dry place. This will help preserve the collar’s finish and ensure it lasts longer.
5-Measure your dog for a proper fit:
When buying a new leather collar, measure your dog properly to ensure a comfortable and snug fit.
These tips should help keep your new leather dog collar looking good for a long time.
Conclusion
Making a leather dog collar is not as difficult as it might seem. This guide will show you how to make a basic but stylish leather dog collar using easily available materials. Once you have completed the project, your pet will be able to wear a new collar with pride!